

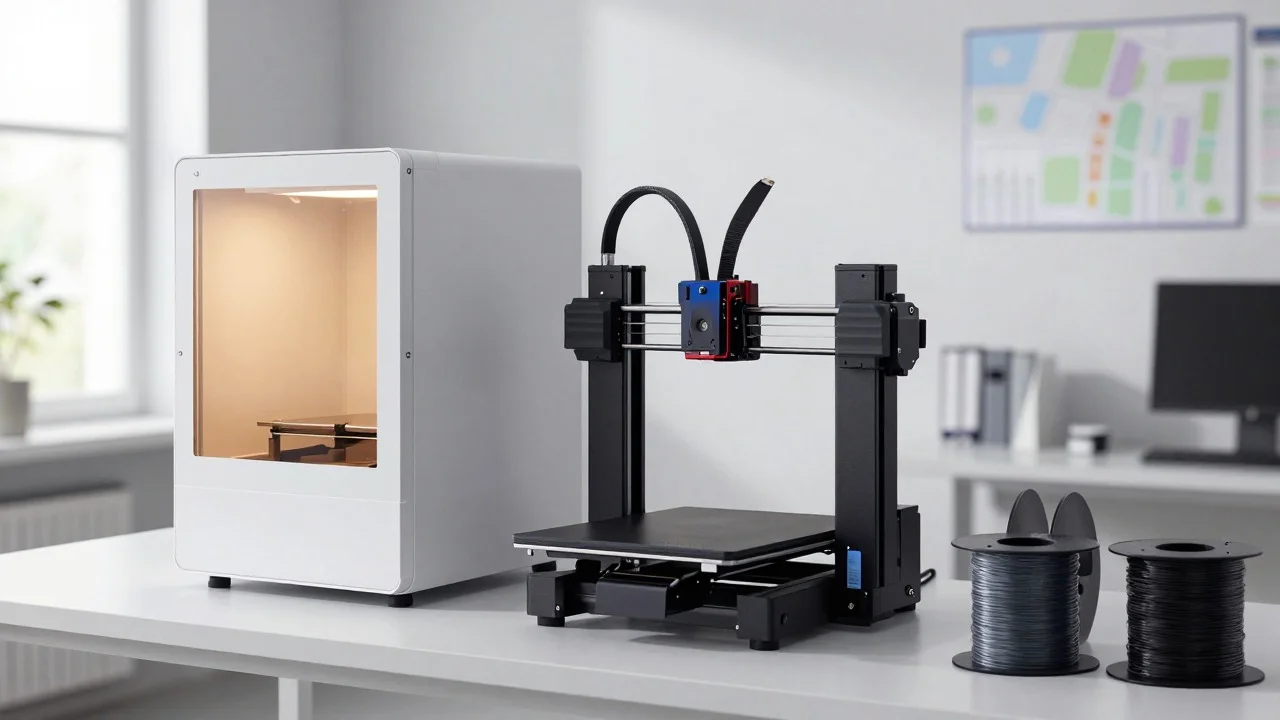
Moisture can turn a reliable spool into a frustrating printing problem. Damp material may produce popping, stringing, rough surfaces, or weak layer bonding. Controlled drying can remove that moisture before it reaches the hotend.
Quick answer: A filament dryer is a heated, controlled chamber that removes absorbed moisture from 3D-printing material. It can reduce popping, stringing, rough surfaces, and weak layer bonding caused by damp plastic. The best setting depends on the polymer, so follow the material maker’s temperature and time guidance first.
| What to know | Practical answer |
|---|---|
| Main purpose | Removes absorbed moisture using controlled heat and airflow |
| Most moisture-sensitive materials | Nylon, TPU, PVA, PETG, and many engineering polymers |
| PLA drying reference | About 113°F (45°C) for six hours |
| PETG drying reference | About 131°F (55°C) for six hours |
| Can you print while drying? | Yes, if the unit has a suitable feed-through port |
| Dryer versus dry box | A dryer removes moisture; a passive dry box mainly slows reabsorption |
| Key buying features | Temperature range, airflow, spool capacity, controls, feed ports, and voltage |
| US buyer check | Confirm 120V compatibility when required by the product |
Key Takeaways
- Dry material before changing slicer settings when popping and unusual stringing appear together.
- Match the unit’s maximum temperature to the materials you use.
- Passive storage cannot reliably rescue a spool that is already wet.
- PLA needs lower temperatures than engineering polymers.
- Nylon and similar materials may need equipment that exceeds basic consumer temperature ranges.
- Store dried spools in sealed containers with fresh desiccant.
What Does a Filament Drying Unit Do?
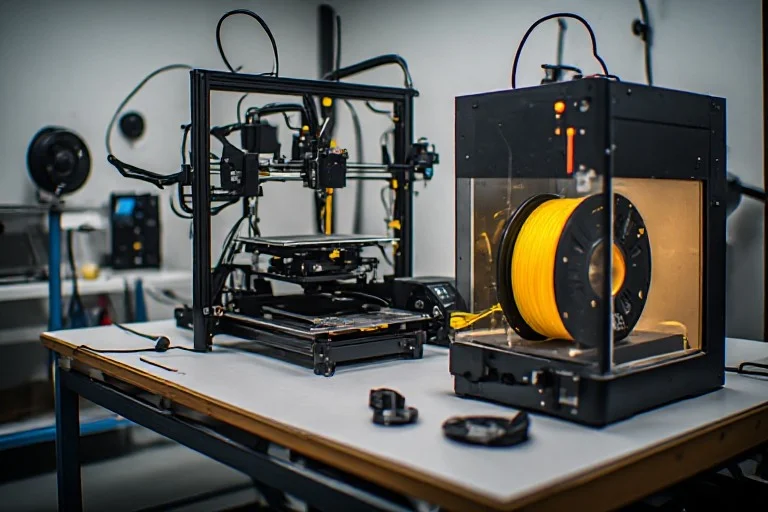
Most common FFF printing materials can absorb water from surrounding air. The amount and speed depend heavily on the polymer. Polyamide and flexible materials usually demand more careful moisture control than PLA.
During printing, absorbed water reaches the hotend with the plastic. The heat can turn that water into vapor quickly. This process may disrupt extrusion and leave visible defects in the finished part.
Drying equipment heats a spool at a controlled temperature for several hours. Some models also circulate warm air through the chamber. That combination helps moisture leave the plastic without melting or deforming it.
How a Filament Dryer Works
Active drying uses controlled heat to encourage moisture to leave the polymer. Good airflow helps carry that moisture away from the spool. Adjustable controls let you match the cycle to different material types. The process needs patience because water can exist below the material’s surface. A short warming cycle may not fix a saturated spool. Longer cycles are especially common with moisture-sensitive engineering materials.
Many consumer models also include a PTFE outlet or feed-through opening. This feature lets you print directly from the heated chamber. The spool then receives less exposure to room humidity during a long job.
Signs Your Spool May Be Wet
Wet material can resemble several printer-tuning problems. That makes moisture easy to overlook during troubleshooting. Look for several symptoms together before changing retraction or extrusion settings.
| Symptom | Why moisture may be involved | What to try first |
|---|---|---|
| Popping or crackling | Water can vaporize inside the hotend | Dry the spool before retuning |
| Sudden stringing | Moisture can make extrusion less consistent | Dry, then retest the same profile |
| Rough or bubbled surfaces | Vapor can disturb flowing plastic | Compare before and after drying |
| Weak layer bonding | Damp material can weaken extrusion consistency | Dry before changing temperatures |
| Blobs or inconsistent flow | Moisture may interrupt the melt stream | Rule out damp material first |
A good comparison uses the same model and slicer profile before and after drying. That removes several variables from your test. If quality improves without other changes, moisture was probably contributing to the problem.
Drying Temperatures and Times by Material
Different polymers need different drying conditions. Prusa’s current official drying guidance provides useful reference points for several common materials. Your spool manufacturer’s instructions should take priority when they provide different settings.
| Material | Reference temperature | Reference time |
|---|---|---|
| PLA | 113°F (45°C) | 6 hours |
| PETG | 131°F (55°C) | 6 hours |
| TPU | 140°F (60°C) | 4–6 hours |
| ASA | 176°F (80°C) | 4 hours |
| PC Blend | 185°F (85°C) | 5 hours |
| PA11 Carbon Fiber | 194°F (90°C) | 6 hours |
These numbers also reveal an important buying issue. A unit capped near 158°F cannot follow every engineering-material recommendation. Check your hottest required setting before comparing capacities, screens, or other convenience features.
Temperature should not be guessed from material family alone. Formulations, additives, and spool construction can change safe drying limits. Always check the label or manufacturer documentation before starting a high-temperature cycle.
Dryer, Dry Box, or Kitchen Oven?
These three approaches solve different problems. An active unit removes moisture using controlled heat. A passive dry box mainly protects material after it has been dried.
| Method | Removes existing moisture? | Good for storage? | Main consideration |
|---|---|---|---|
| Active drying unit | Yes | Sometimes | Needs correct heat range and airflow |
| Sealed dry box | Usually no | Yes | Desiccant must remain effective |
| Household oven | Possible | No | Temperature control may be inaccurate |
| Food dehydrator | Possible | No | Must fit spools and reach safe settings |
Prusa warns that household ovens may have inaccurate low-temperature control. Temperature swings can damage low-temperature materials such as PLA. Some ovens also cannot maintain the low settings needed for safe drying.
A passive dry box should not be confused with active drying equipment. Prusa states that its USS Drybox slows moisture absorption but does not dry wet material. Pre-drying is required when a spool has already absorbed too much moisture.
What to Check Before Buying
Before buying a filament dryer, start with the polymers you use most often. Your highest required temperature should guide the first comparison. Capacity and extra features matter only after the thermal range fits your materials.
Look for these features:
- Adjustable temperature: Preset-only models may not suit every polymer.
- Useful maximum heat: Engineering materials can require temperatures beyond basic models.
- Air circulation: Moving warm air can help moisture leave the chamber.
- Spool capacity: Choose single, dual, or multi-spool capacity to suit your workflow.
- Feed-through ports: These support printing while the spool remains protected.
- Timer controls: Longer cycles become easier to manage.
- Humidity display: This can help monitor chamber conditions.
- Spool clearance: Check width, diameter, and larger spool compatibility.
- US power compatibility: Confirm the electrical rating before purchase.
US buyers should also consider where the device will sit. Leave enough room for airflow, spool changes, and a clean filament path. Avoid placing heated equipment where vents become blocked.
If your work area also includes conventional printing equipment, Techixia’s wireless printer buying guide for US homes covers broader home-printer choices. That guide focuses on paper printers rather than 3D equipment. It can still help when planning a shared technology workspace.
How to Dry a Spool Safely
A repeatable routine helps prevent both under-drying and accidental overheating. Start with the manufacturer’s drying guidance instead of copying one setting across every material. Check the spool itself because some reel materials tolerate less heat than the plastic they carry.
- Identify the exact material and manufacturer.
- Find the recommended drying temperature and duration.
- Confirm your equipment can maintain that temperature safely.
- Place the spool inside without blocking circulation.
- Set the temperature and timer.
- Let the full cycle finish before judging the result.
- Transfer the spool into sealed storage after drying.
- Print from the chamber when continuous protection is needed.
Do not raise the temperature simply to shorten the cycle. Excess heat can deform filament or damage the spool. More time at the correct setting is safer than guessing with extra heat.
For a workspace containing several devices, plan equipment placement and cable routing before the dryer arrives. Heated equipment still needs its own manufacturer-required clearance. Keep ventilation openings unobstructed during operation.
Which Materials Benefit Most?
Nylon and related polyamides deserve special attention because they absorb moisture readily. Prusa recommends keeping highly hygroscopic materials dry before and during printing. Some carbon-filled polyamides also require much higher drying temperatures than common PLA.
TPU can also show noticeable quality changes after moisture exposure. PETG may develop stringing, blobs, or inconsistent surfaces when damp. PLA is usually more forgiving, but old or poorly stored rolls can still benefit from controlled drying.
This does not mean every spool needs a heating cycle before every job. Good storage reduces how often active drying becomes necessary. Your local humidity, material type, and storage habits all affect the schedule.
Keep the Spool Dry After the Cycle
Drying solves the immediate moisture problem, but storage determines how long the improvement lasts. Move the spool into an airtight container after the cycle. Add suitable desiccant to keep the enclosed air dry.
A humidity display can help you monitor storage conditions. Replace or regenerate desiccant when its performance drops. Keep especially sensitive materials sealed between prints instead of leaving them on an open holder.
Prusa’s dry-box guidance makes the distinction clear. Its passive USS system uses silica gel to maintain a lower-humidity environment. The company still recommends separate drying when material has already become moist.
Common Mistakes to Avoid
- Using one temperature for every polymer.
- Assuming a sealed storage box can restore a wet spool.
- Changing retraction settings before checking moisture.
- Buying a model that cannot reach required engineering-material temperatures.
- Ignoring spool dimensions when comparing chamber capacity.
- Blocking the device’s airflow openings.
- Raising heat above manufacturer guidance to save time.
- Leaving freshly dried material exposed after the cycle.
Troubleshooting becomes easier when you change one variable at a time. Dry the material first, then repeat the same print profile. Only adjust slicer settings if problems remain afterward.
If you also maintain a conventional document printer, Techixia’s guide on how to print double-sided covers another useful printing workflow. It is separate from 3D printing, but it fits a shared home technology setup. Techixia’s best laser printer guide also covers document-focused hardware choices.
Frequently Asked Questions
Do I need a filament dryer for PLA?
Not every PLA spool needs active drying before each print. PLA usually handles ordinary exposure better than highly hygroscopic engineering materials. Dry it when storage conditions or print symptoms suggest moisture has become a problem.
What temperature should I use for PLA?
Prusa lists 113°F, or 45°C, for six hours for its PLA reference. Another manufacturer may specify a different value for its formulation. Follow the guidance supplied with your spool whenever it differs.
Can I use a kitchen oven instead?
A household oven can create more risk because low-temperature control may be inaccurate. Prusa warns that normal temperature swings can damage materials such as PLA. Purpose-built equipment gives you more control at these lower settings.
Can I print while the spool is drying?
Many active units include feed-through ports for direct printing. This keeps moisture-sensitive material protected during a long job. Check that the filament path moves freely before starting the print.
How long does drying take?
Common materials often need several hours rather than a few minutes. Prusa lists six hours for PLA and PETG under its current guidance. More sensitive materials can require different temperatures and durations.
Is a dry box the same thing as active drying?
No, because passive storage mainly slows future moisture absorption. It may use silica gel to keep enclosed humidity lower. Already wet material normally needs controlled heating before passive storage becomes useful.
Choose the Right Tool for Your Materials
Start with the materials you print, not the biggest screen or longest feature list. Match the unit’s temperature range to your hottest polymer. Then compare capacity, airflow, feed-through options, controls, and US power compatibility.
Good moisture control also combines drying with storage. Dry a damp spool under the correct conditions, then protect it from room humidity. That simple routine can remove one major source of inconsistent 3D-printing results.