

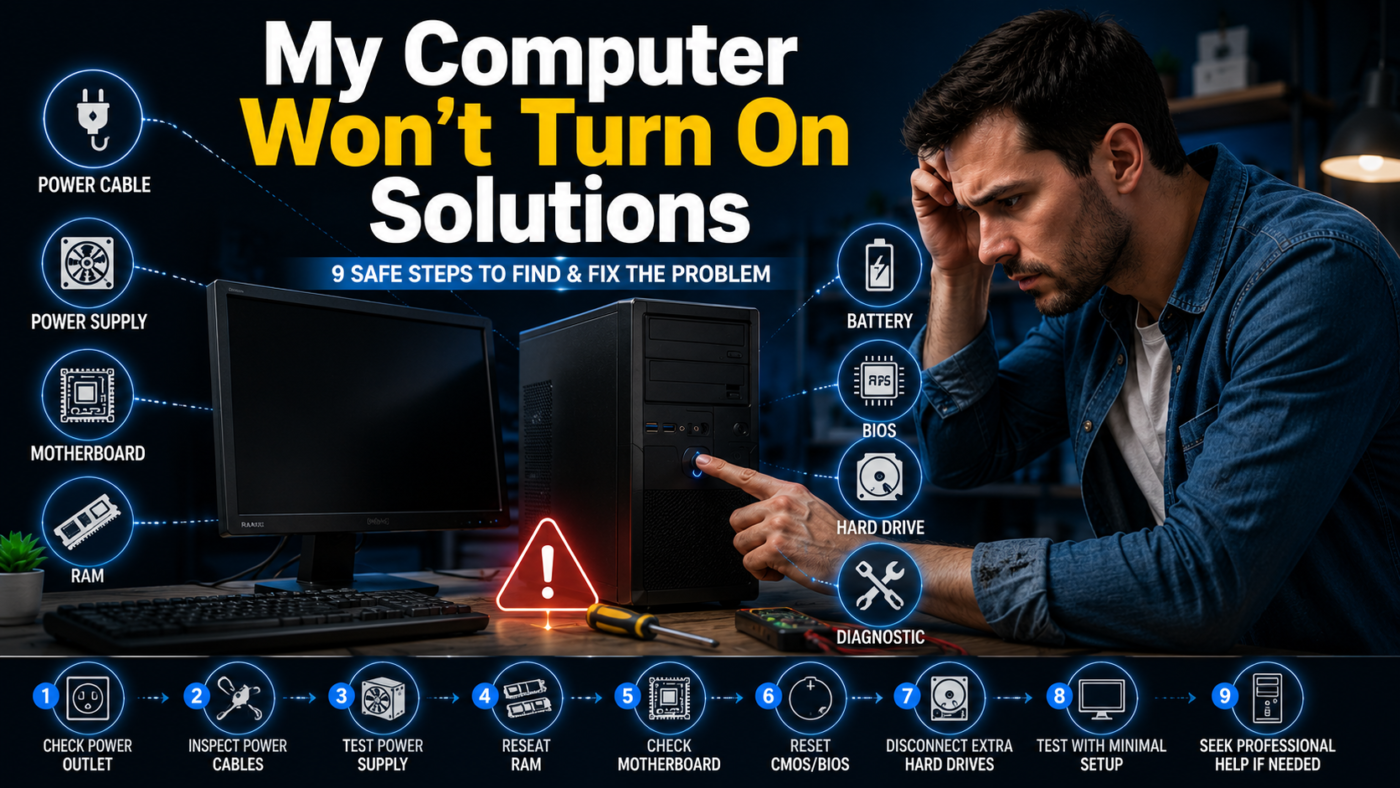
Pressing the power button and getting no useful response can make a failed PC seem worse than it is. These my computer won’t turn on solutions help you identify whether the problem involves power, the display, internal hardware, or Windows.
Start with the symptom you can see. A completely dead device needs different checks from a PC that has lights and fans but no picture. Likewise, a machine that reaches the Windows logo has already passed several hardware tests.
Direct answer: Check the outlet, power cable, charger, monitor, and connected USB devices first. Then perform a power reset. If the PC receives power, use its lights, fan activity, beeps, and screen behavior to decide whether to troubleshoot the display, internal hardware, or Windows startup.
| What you see | Most likely area to check | Best first action |
| No lights, fans, or sounds | Outlet, charger, battery, or power supply | Test the outlet and reconnect all power cables |
| Lights appear, then the PC turns off | Power supply, overheating, RAM, or motherboard | Disconnect accessories and perform a power reset |
| Fans and lights stay on, but the screen is black | Monitor, display cable, graphics output, or RAM | Test the monitor and cable |
| Manufacturer logo appears, but Windows fails | Windows files, drivers, boot configuration, or storage | Run Windows Startup Repair |
| Beeps or diagnostic lights appear | RAM, graphics, processor, BIOS, or motherboard | Record the pattern and check the manufacturer’s guide |
Before You Start: Protect Yourself and the Computer
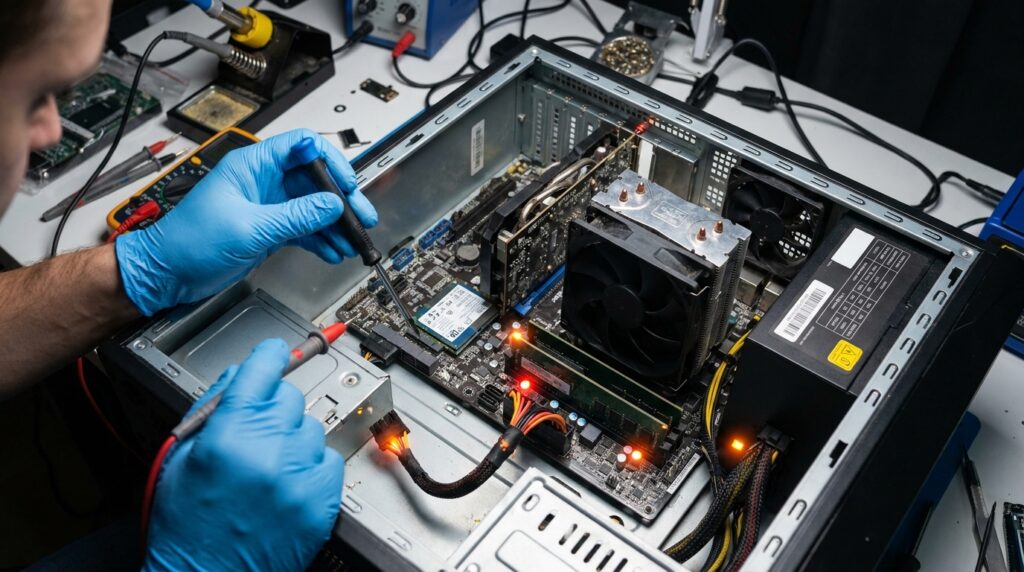
Turn the computer off and unplug it before opening a desktop case or touching internal parts. Disconnect the charger from a laptop before performing a power reset.
Do not open a desktop power-supply unit. Capacitors inside it may retain a dangerous electrical charge after the unit has been unplugged.
Stop troubleshooting if you notice:
- A burning smell
- Smoke or sparks
- A swollen laptop battery
- Liquid inside the device
- A damaged or unusually hot charger
- Melted plugs or power connectors
Those symptoms need professional attention. Continuing to apply power may damage more components.
My Computer Won’t Turn On Solutions to Try in Order
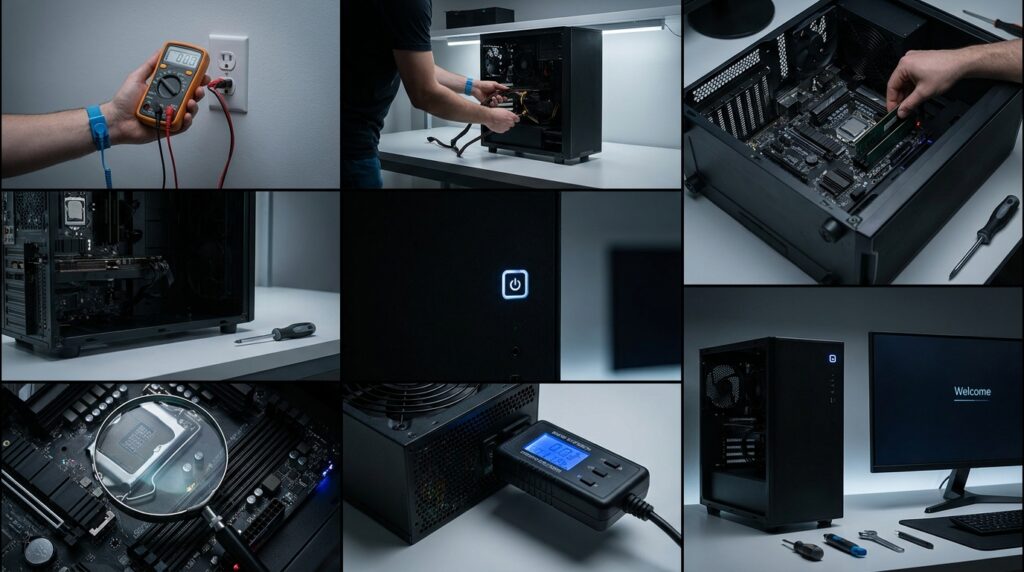
Follow these steps from the simplest and safest checks to the more involved ones. Stop when the computer starts normally.
1. Identify What “Won’t Turn On” Means
Press the power button once and watch closely.
Check for:
- Power lights
- Keyboard lights
- Fan movement
- Drive noise
- Beeps
- A manufacturer logo
- A mouse pointer
- A Windows error message
This observation narrows the problem into one of four useful categories: no power, no display, no POST, or no Windows boot. Dell and other manufacturers use similar categories because each one points to a different stage of startup.
A PC with spinning fans is receiving at least some power. A device that displays its manufacturer logo has moved further through the startup process.
2. Test the Outlet and Power Source
Unplug the computer from its current outlet. Connect a lamp or another known-working device to the same socket.
For a desktop PC:
- Reconnect the power cable at both ends.
- Check the power-supply switch on the back.
- Make sure the switch is set to I, not O.
- Bypass the surge protector or extension lead.
- Test another compatible power cable when available.
For a laptop:
- Inspect the charging connector and cable.
- Connect the charger directly to a wall outlet.
- Leave it connected for 20 to 30 minutes.
- Look for a charging light.
- Test only with a compatible manufacturer-approved charger.
A charging light does not prove that every part works. It does confirm that power is reaching at least part of the device.
3. Perform a Full Power Reset
Residual electrical charge or a stuck power state can prevent startup.
For a laptop with a removable battery:
- Disconnect the charger.
- Remove the battery.
- Hold the power button for 20 seconds.
- Reinstall the battery.
- Reconnect the charger and try again.
For a laptop with a sealed battery:
- Disconnect the charger and accessories.
- Hold the power button for 20 to 30 seconds.
- Reconnect the charger.
- Press the power button normally.
For a desktop:
- Shut it down and unplug the power cable.
- Hold the power button for 15 seconds.
- Reconnect the cable.
- Turn the PC on.
This process does not erase personal files. It only drains stored electrical charge and resets the device’s current power state.
4. Disconnect Every Unnecessary Device
A defective USB device, external drive, memory card, dock, or accessory can interfere with startup.
Disconnect everything except:
- The power cable or charger
- One monitor for a desktop
- A basic wired keyboard when needed
Remove printers, hubs, flash drives, external storage, controllers, webcams, card readers, and docking stations.
ASUS recommends removing external devices when diagnosing boot failures and black screens. If the machine starts afterward, reconnect each accessory one at a time until the fault returns.
5. Check the Screen and Display Connection
Lights and fans with a black screen may indicate a display problem rather than a dead computer.
For a desktop:
- Confirm that the monitor has power.
- Open the monitor’s on-screen menu.
- Select the correct HDMI, DisplayPort, DVI, or VGA input.
- Reconnect the display cable at both ends.
- Test another cable or monitor.
- Try another video output on the PC.
If the desktop has a dedicated graphics card, the monitor cable usually belongs in the graphics card’s output. Connecting it to the motherboard may produce no picture on some systems.
Microsoft and ASUS both recommend testing display cables and another screen before assuming the PC itself has failed.
For a laptop, raise the brightness and disconnect external displays. You can also connect a known-working external monitor to check whether the built-in screen is the problem.
6. Pay Attention to Beeps and Diagnostic Lights
Repeated beeps or blinking lights are not random. They often report the component that failed during the Power-On Self-Test.
Write down:
- The number of beeps
- Whether they are long or short
- The light color
- The blinking sequence
- Whether the pattern repeats
Then check the support page for the exact manufacturer and model.
Diagnostic meanings vary between product lines. On some Dell desktops, two beeps can point to undetected memory, while other patterns may identify BIOS, graphics, processor, or motherboard faults.
Do not rely on a generic beep-code chart. Use the documentation for your device.
7. Reseat the RAM in a Desktop PC
Loose or failed memory can cause lights and fans with no picture. It may also produce repeated beeps or restart loops.
Only attempt this step when you are comfortable working inside a desktop:
- Shut the PC down.
- Unplug the power cable.
- Hold the power button for 10 seconds.
- Touch an unpainted metal part of the case.
- Release the RAM-slot clips.
- Remove the memory module.
- Reinsert it until both clips lock.
If the PC has multiple modules, test one module at a time in the motherboard’s recommended slot.
Do not touch the gold contacts. Stop if the module does not align with the slot. Laptop memory is often harder to access. Opening the device may affect its warranty, so consult the manufacturer’s manual first.
8. Use Windows Recovery When the PC Has Power
A computer that reaches a logo, loading circle, blue screen, or repair menu has turned on. The remaining problem is usually a boot failure, not a total power failure.
Windows Startup Repair can check for damaged system files, corrupted boot configuration data, driver problems, and other startup faults. Microsoft provides it through the Windows Recovery Environment.
From the recovery screen, select:
Troubleshoot → Advanced options → Startup Repair → Restart
Keep your BitLocker recovery key available if device encryption is enabled. Microsoft notes that Windows may request it before completing recovery work.
If the screen stays black after Windows begins loading, Safe Mode may help you update or roll back a graphics driver. Microsoft recommends entering Recovery Mode, choosing Startup Settings, and selecting Safe Mode with Networking.
Avoid resetting or reinstalling Windows until you have tried less destructive recovery options and protected important files.
9. Know When to Stop and Get a Repair
Professional diagnosis is the safer choice when:
- The PC turns off within seconds
- The charger or power supply clicks repeatedly
- A replacement cable changes nothing
- Beep codes indicate a motherboard or processor fault
- The device suffered a fall or liquid spill
- You see a swollen battery
- The PC has no power after all external checks
- Important files are stored on the machine
Ask the repair shop whether the diagnosis fee applies toward the repair. Also request approval before any drive is erased or Windows is reinstalled.
A startup failure does not automatically mean your files are gone. The storage drive may still be readable even when another component has failed. Lifewire also notes that startup faults often involve hardware other than the drive holding personal files.
Fast Symptom-Based Diagnosis
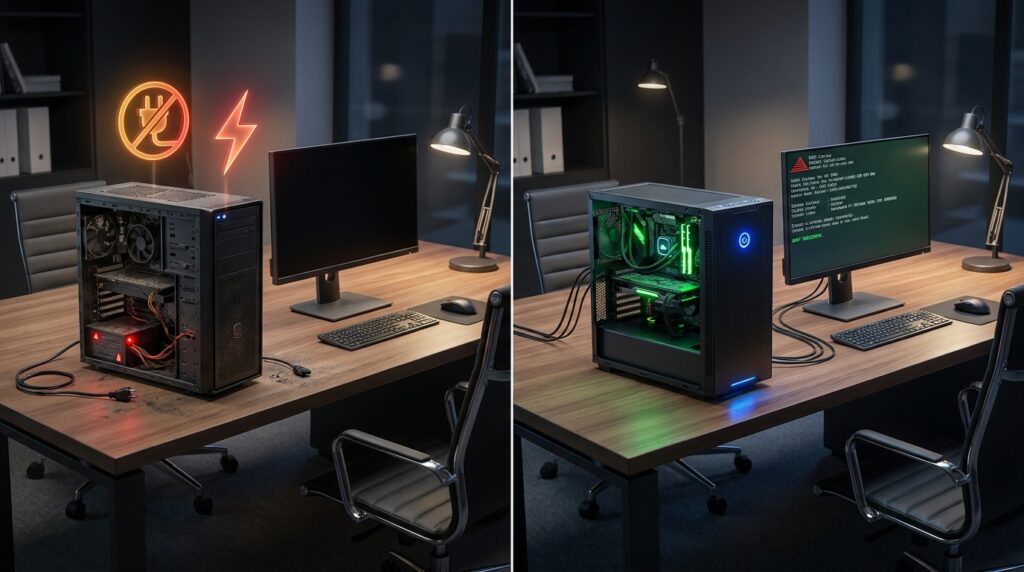
The computer is completely dead
Focus on:
- The outlet
- The power cable
- The laptop charger
- The battery
- The desktop power-supply switch
- The power button
- The internal power supply
Do not spend time changing monitor settings when the PC shows no sign of receiving power.
The computer turns on and immediately turns off
Disconnect all accessories and perform a power reset. A desktop may also need its RAM checked. This symptom can involve a power-supply protection circuit, a shorted device, loose memory, overheating protection, or a motherboard fault.
The computer has lights and fans but no display
Test the monitor, input settings, display cable, and graphics output first. Then remove accessories and check diagnostic lights. ASUS recommends testing with minimal hardware and reconnecting removed parts one at a time.
The computer reaches the logo but not Windows
Use Startup Repair. If that fails, try Safe Mode, System Restore, or the manufacturer’s preboot diagnostics before reinstalling the operating system.
Common Mistakes to Avoid
Do not replace expensive components before testing the outlet, cable, monitor, and accessories.
Avoid these mistakes:
- Opening the power-supply enclosure
- Using an incompatible laptop charger
- Repeatedly forcing the device on after smelling burning
- Removing parts while the PC is connected to power
- Assuming a black screen always means motherboard failure
- Clearing the CMOS without recording custom BIOS settings
- Reinstalling Windows before protecting important files
- Following beep codes for the wrong manufacturer or model
A careful sequence saves time because each successful test rules out part of the system.
What to Do Next
Work through the steps once and record what changes after each test. The exact symptom matters more than guessing which component failed.
For more practical explainers, browse Techixia’s technology coverage and its latest guides. You can also review how Techixia researches and checks its content or send feedback through its contact page.
If the device still shows no life, shuts off within seconds, or reports a hardware code, take your notes to a qualified repair technician. A precise description of the lights, sounds, and screen behavior can shorten the diagnosis.
If you want to know about Outlook Lite Retirement May 25 then visit our technology category.
Frequently Asked Questions
Test the wall outlet, reconnect the power cable or charger, disconnect external devices, and perform a power reset. If lights and fans appear, check the monitor and display cable before opening the case.
The monitor may have the wrong input selected, or the display cable may be loose or damaged. Other possible causes include the graphics card, RAM, BIOS settings, or a Windows display-driver problem. Microsoft recommends checking cables and testing another monitor before moving to Safe Mode or system recovery.
A shorted accessory, loose component, power-supply fault, overheating protection, or motherboard problem may cause an immediate shutdown. Remove accessories first. Desktop users can then check power connectors and RAM.
Yes. Some laptops can run from the charger without the battery, while others may behave differently. Check the model’s support guide before removing or bypassing a battery.
Startup Repair is designed to repair boot-related problems rather than erase personal files. Still, every recovery process carries some risk, especially when storage hardware is failing. Back up accessible files before advanced repairs.
Not necessarily. A failed charger, screen, power supply, RAM module, motherboard, or Windows installation can prevent access while leaving the storage drive intact. Do not approve drive formatting until recovery options have been discussed.